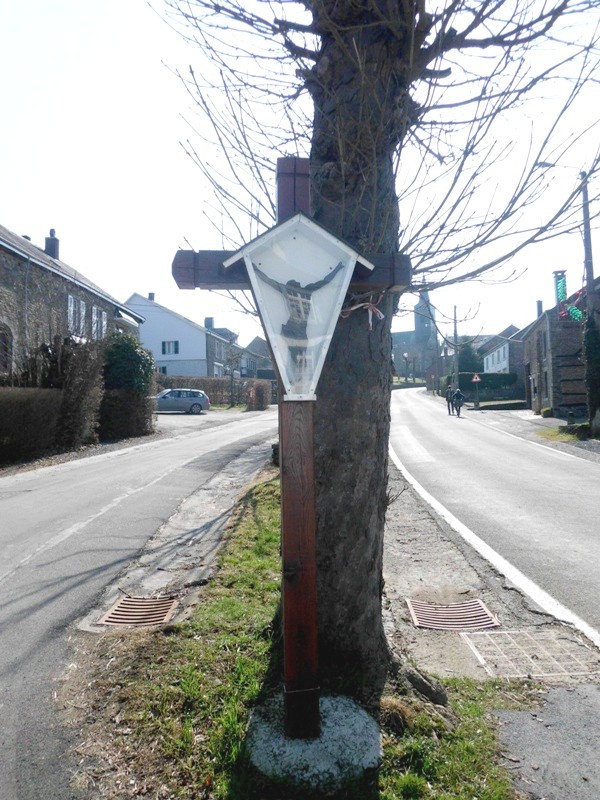
PHOTO 1
PHOTO 2
PHOTO 3
PHOTO 4
PHOTO 5
PHOTO 6
RETOUR
Daverdisse
Croix-Crucifix

© Alain LOUSBERG