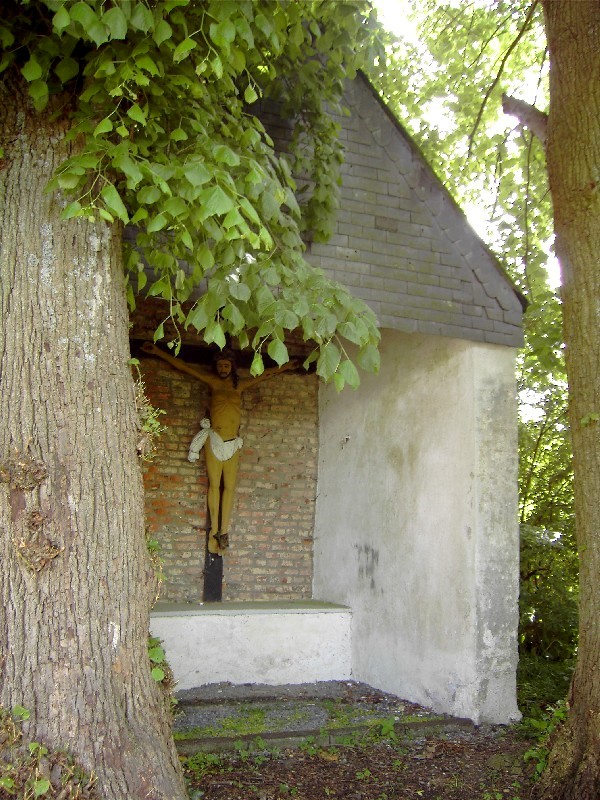
PHOTO 1
PHOTO 2
PHOTO 3
PHOTO 4
PHOTO 5
RETOUR
Beaumont
Croix-Crucifix

© Henri POHL